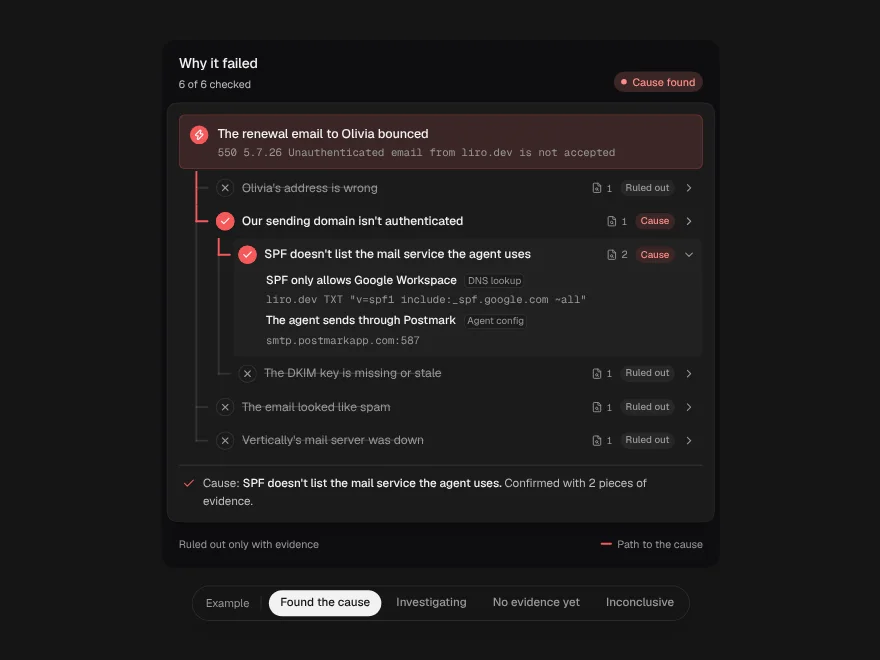
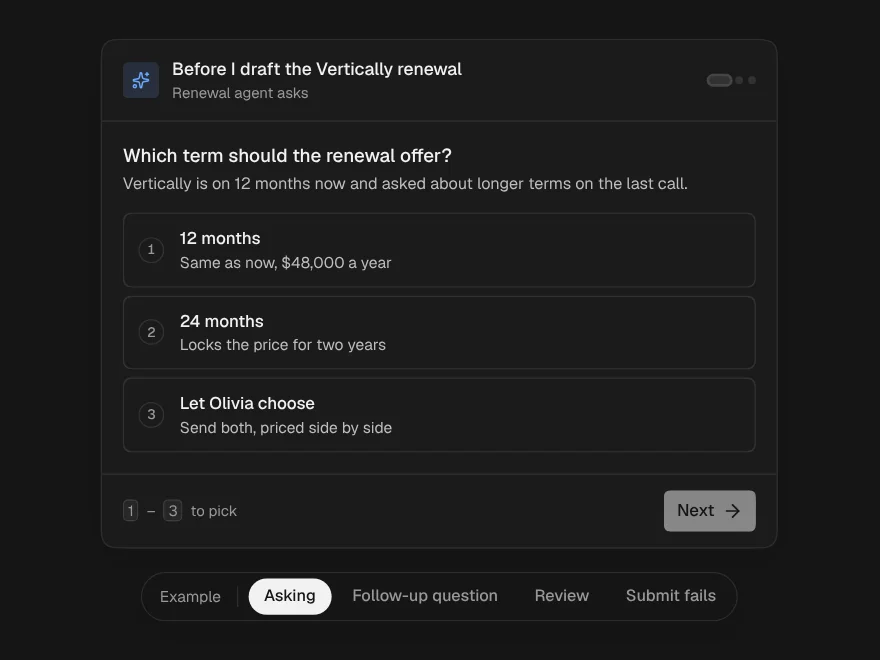
Approval Gates
One agent action through every approval it needs, in order, with what waits behind it.
The action an agent wants to take, exactly as it will happen, and the stages that must approve it as a rail that fills as approvals land. Whoever's stage is open approves or rejects with a note; the steps of the run that wait behind the gate unlock when the last one is in.
PROGet Approval Gates and 176 other Pro components with pro lifetime — Get Pro
- Category
- AI Agent
- Access
- ProPro · unlocked
- Source
- 425 lines · one file
- States
- 5 drawn
- Added
- 13 Nov 2026
The decision inside it
An approval is for an exact version
When the agent changes the request after someone approved it, that approval resets and the stage looks again, with the changed fields marked old to new. A later stage can't decide before an earlier one, so a yes never lands on something nobody before it agreed to.
When to use it
Use Approval Gates when one agent action needs several approvals in order (team lead, then finance, then legal) and the steps after it must wait. For a single yes or no use Approval Request; for granting a tool or scope use Permission Grant.
Installation
How you get it
Paste this into Claude Code, Cursor, Codex or any coding agent. It installs the file and uses it as it is, instead of writing a new one.
Use Liro's Approval Gates for this.
Install it: npx shadcn@latest add @liro/approval-gates
(the @liro registry is set up in components.json, with LIRO_KEY in .env.local)
Import it from @/components/ui/approval-gates.
Do not rewrite or restyle it. Pass my data through its props
and keep its built-in states.
For the full brief with every prop and the mistakes assistants usually make, use Copy prompt above. Pro components install through the @liro registry with your CLI token: see the Namespaced tab.
Usage
import { ApprovalGates, type GateRequest, type GateStage } from "@/components/ui/approval-gates";

export function SendApprovals({ request, stages, me, decide }: {
  request: GateRequest;
  stages: GateStage[];
  me: string;
  decide: (stageId: string, decision: "approve" | "reject", note: string) => Promise<void>;
}) {
  return <ApprovalGates request={request} stages={stages} canDecide={me} onDecide={decide} />;
}
API reference
“Copy prompt” above puts a full brief on your clipboard, install command, dependencies, props, and the mistakes an assistant usually makes with this component.
Props
Read from the component’s own TypeScript interface when the site is built, so this table cannot drift from the file you install.
| Type | Notes | ||
|---|---|---|---|
request | GateRequest | Yes | – |
stages | GateStage[] | Yes | – |
onDecide | (stageId: string, decision: GateDecision, note: string) => void | Promise<void> | No | Records a decision for a stage. May return a promise; a rejection shows inline and nothing moves. |
canDecide | string | No | The id of the stage the viewer can decide. Others are read-only. Default: whichever is open. |
look | Look | No | – |
Dependencies
npm packages
clsxframer-motionlucide-reacttailwind-mergeLiro foundations, installed alongside it
liro-themeavatarbuttonStates
All of them are drawn by the component. None is left for you to design.
- Deciding
- Changed after approval
- Rejected
- All approved
- Decision fails
Accessibility
- Keyboard reachable throughout, in visual order
- Focus trapped in overlays, Escape closes them
- Focus returns to whatever opened it
- Live regions announce what changed, not that something did
- Honours prefers-reduced-motion
Responsive behavior
- Sizes to its container, not the viewport
- Usable from 320px up
- Pointer-based interaction, so trackpad and touch both work
- No hover-only affordances
More like Approval Gates
All AI Agent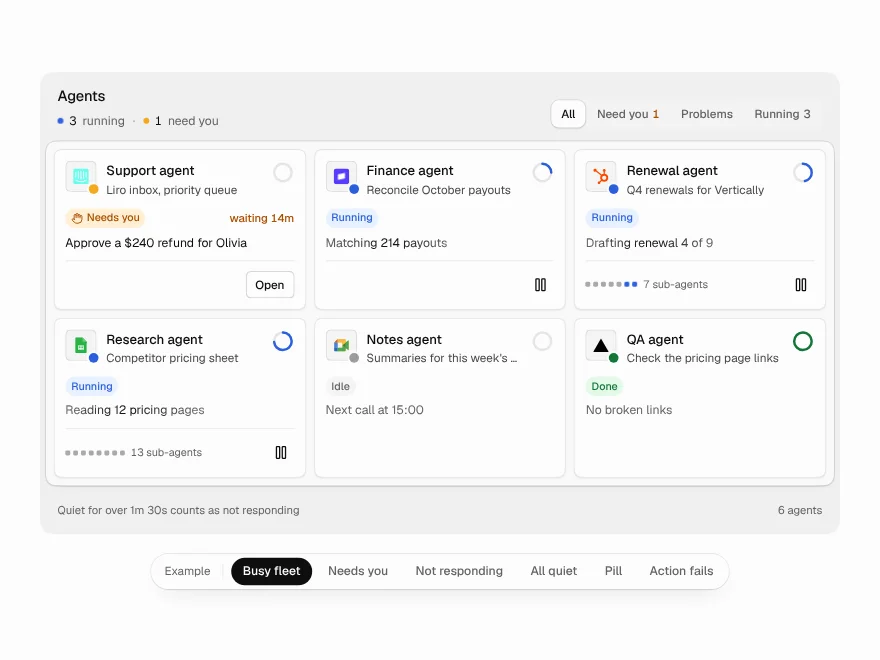 NewPro
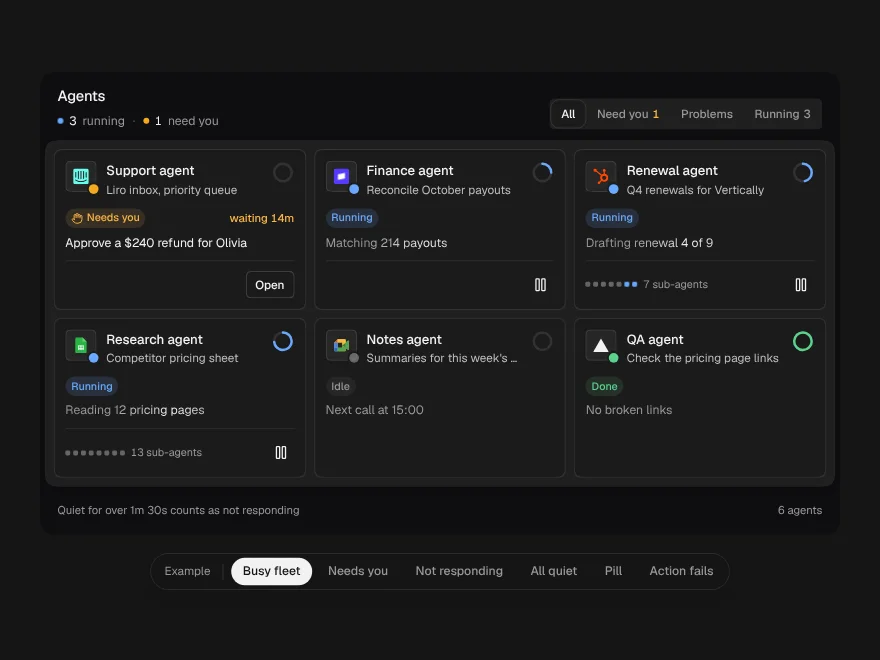
Agent Fleet
Every agent you run at a glance, sorted by what needs you, with a header pill.
 NewPro
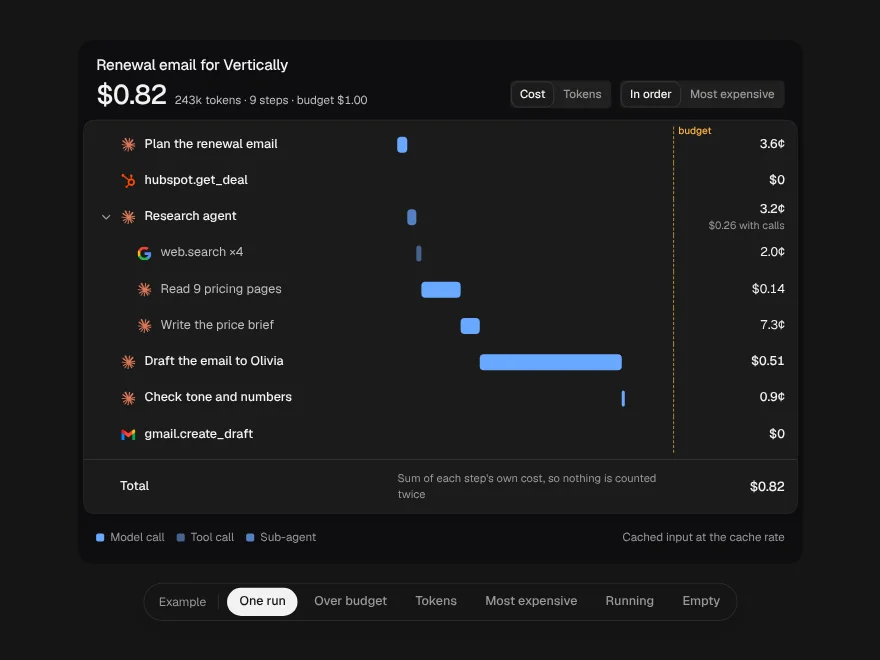
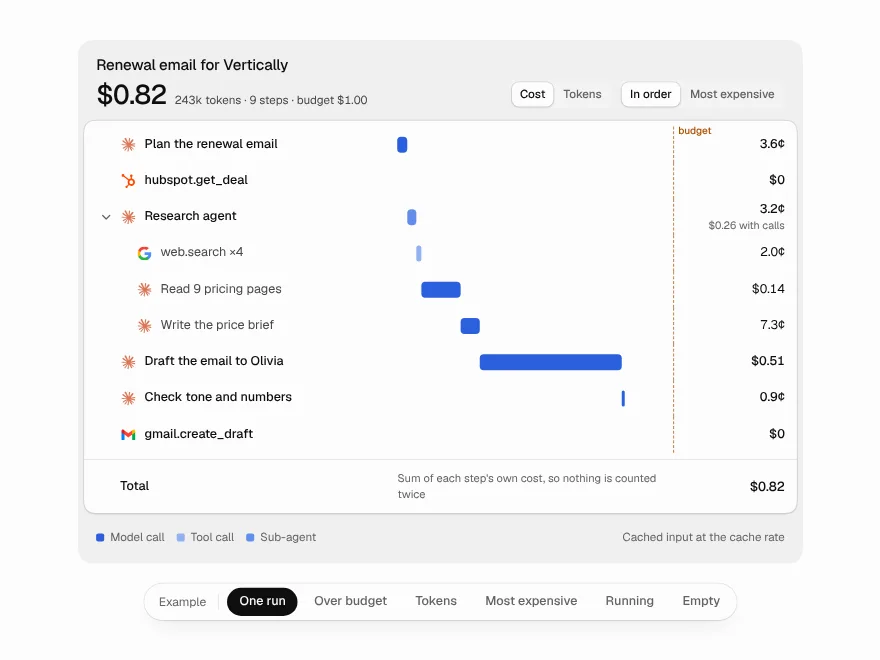
Cost Waterfall
Where the money and tokens of an agent run go, step by step, without double counting.
 NewPro
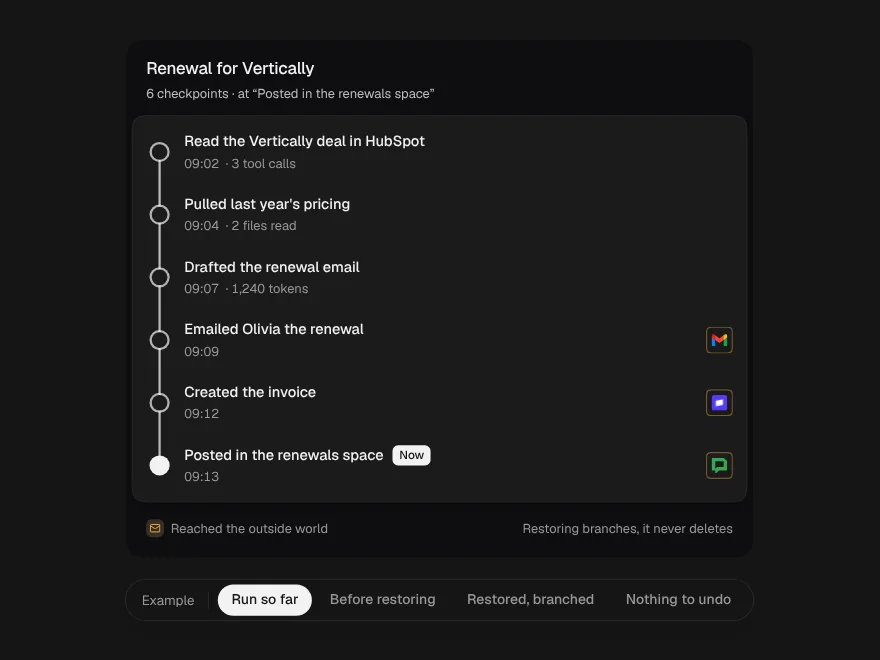
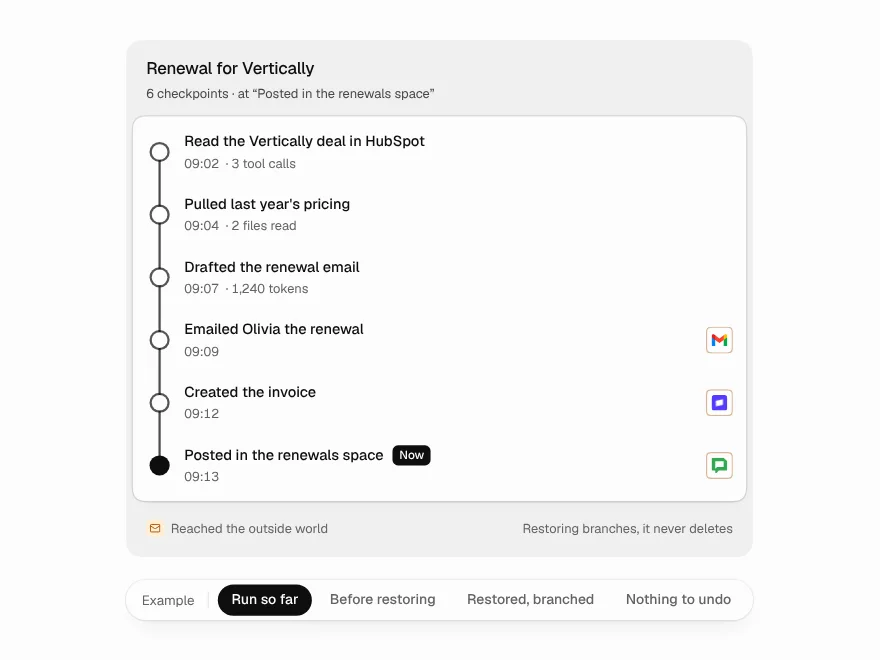
Agent Checkpoints
An agent run as restore points; going back branches instead of deleting.
 NewPro
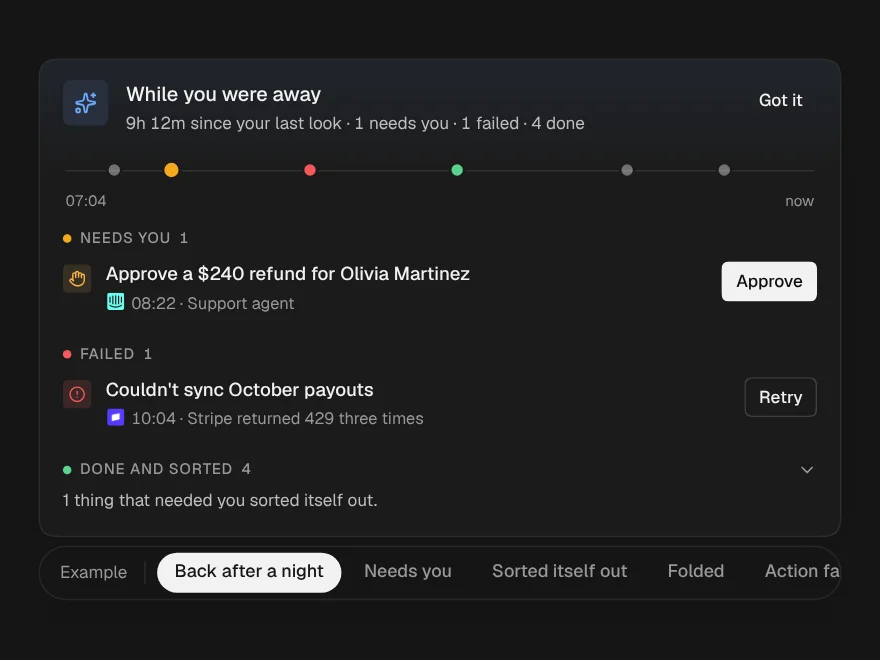
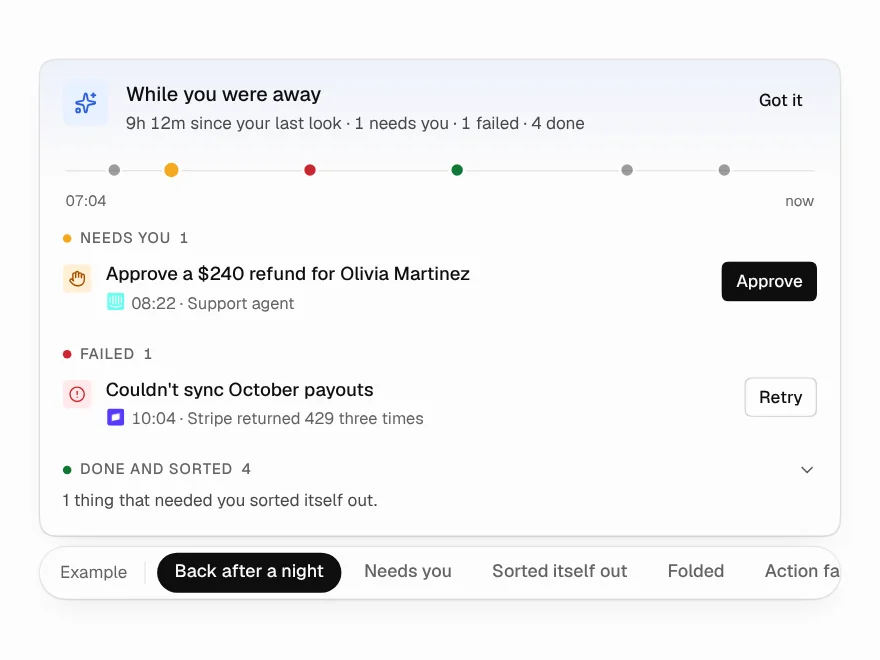
Away Summary
What happened while you were away, from the last message you actually saw.
 NewPro
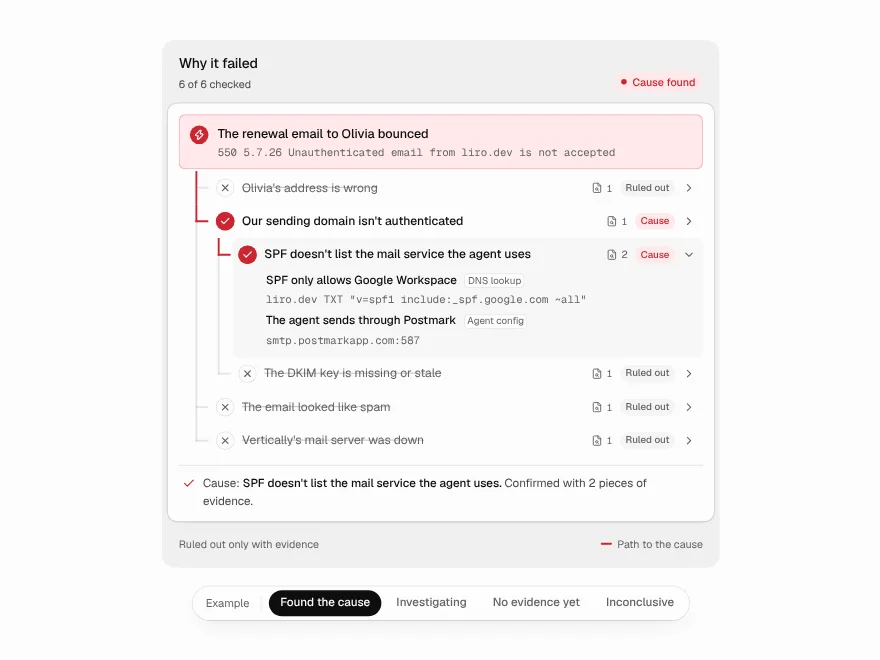
Root Cause Tree
How an agent finds why a run failed, as a tree of checked guesses.
 NewFree
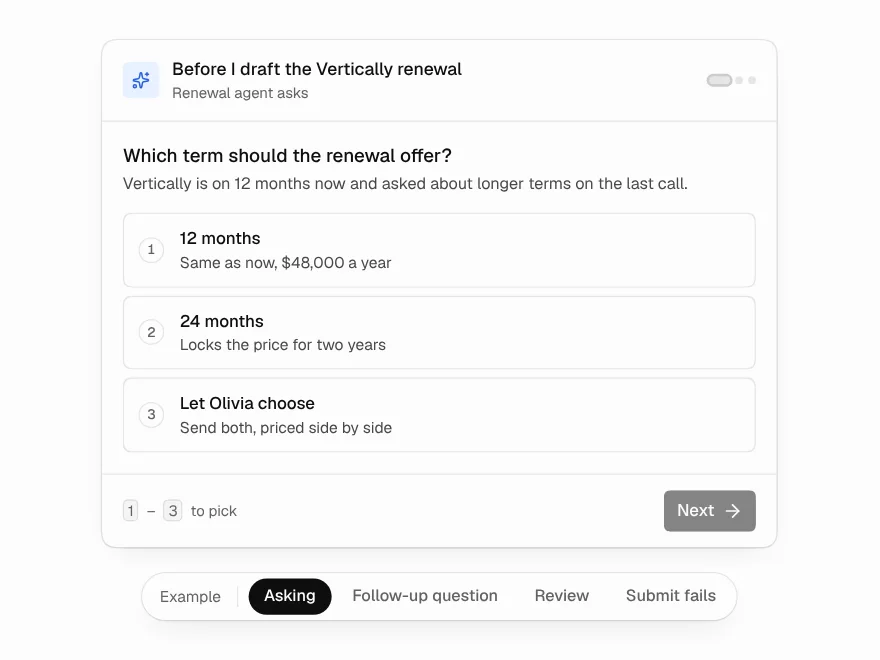
Questionnaire
Questions an agent asks mid-run, one at a time, with answers that stay consistent.