Agent Execution Graph
A run drawn as a graph: dependencies, parallel branches and the path it took.
PROGet Agent Execution Graph and 168 other Pro components with pro lifetime — Get Pro
- Category
- AI Agent
- Access
- ProPro · unlocked
- Source
- 688 lines · one file
- States
- 7 drawn
- Added
- 12 Oct 2026
The decision inside it
The layout comes from the edges
A step sits one column after the latest step it needs, so parallel work lines up and a failed branch visibly blocks what comes after it. Broken links and cycles are reported, not hidden.
When to use it
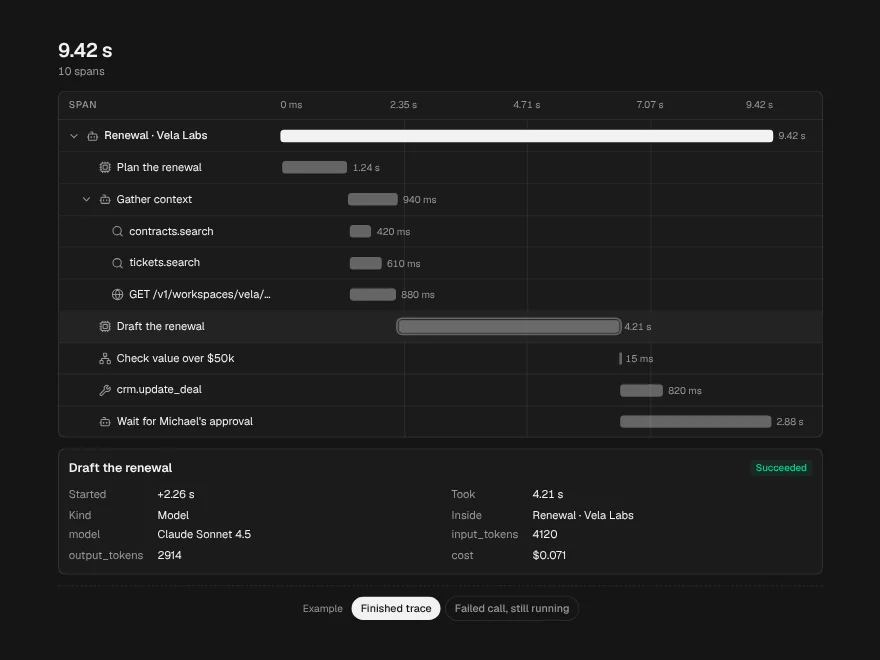
Use Agent Execution Graph to show how a run branched: agents, tools, models and conditions as boxes with arrows, the path taken highlighted, and a details panel for the selected step. For a flat time view, use Trace Waterfall.
Installation
How you get it
Paste this into Claude Code, Cursor, Codex or any coding agent. It installs the file and uses it as it is, instead of writing a new one.
Use Liro's Agent Execution Graph for this.
Install it: npx shadcn@latest add @liro/agent-execution-graph
(the @liro registry is set up in components.json, with LIRO_KEY in .env.local)
Import it from @/components/ui/agent-execution-graph.
Do not rewrite or restyle it. Pass my data through its props
and keep its built-in states.
For the full brief with every prop and the mistakes assistants usually make, use Copy prompt above. Pro components install through the @liro registry with your CLI token: see the Namespaced tab.
Usage
import { AgentExecutionGraph } from "@/components/ui/agent-execution-graph";

export function RunGraph() {
  return (
    <AgentExecutionGraph
      nodes={[
        { id: "plan", label: "Planner", kind: "agent", status: "succeeded" },
        { id: "search", label: "invoices.search", kind: "tool", status: "succeeded", durationMs: 800 },
        { id: "write", label: "Draft email", kind: "model", status: "running" },
      ]}
      edges={[
        { id: "e1", source: "plan", target: "search", status: "completed" },
        { id: "e2", source: "search", target: "write", status: "active" },
      ]}
      height={360}
    />
  );
}
API reference
“Copy prompt” above puts a full brief on your clipboard, install command, dependencies, props, and the mistakes an assistant usually makes with this component.
Props
Read from the component’s own TypeScript interface when the site is built, so this table cannot drift from the file you install.
| Type | Notes | ||
|---|---|---|---|
nodes | ExecutionGraphNode[] | Yes | – |
edges | ExecutionGraphEdge[] | Yes | – |
selectedNodeId | string | null | No | Controlled selection. |
defaultSelectedNodeId | string | null | No | – |
onNodeSelect | (node: ExecutionGraphNode | null) => void | No | – |
onOpenNodeDetails | (node: ExecutionGraphNode) => void | No | Adds "Open step" to the details. |
layoutDirection | "horizontal" | "vertical" | No | Default `horizontal`: left to right. People can flip it from the toolbar. |
onLayoutDirectionChange | (direction: "horizontal" | "vertical") => void | No | Someone flipped the layout. |
showLayoutToggle | boolean | No | Show the "Left to right / Top to bottom" switch. Default true. |
highlightPath | string[] | No | Node ids, in order: the route the run took. |
height | number | No | Height of the canvas. Default 380. |
defaultView | "graph" | "list" | No | Start on the list instead of the graph. |
Dependencies
npm packages
clsxframer-motionlucide-reacttailwind-mergeLiro foundations, installed alongside it
liro-themebadgebuttonsegmented-controlstateStates
All of them are drawn by the component. None is left for you to design.
- Running
- Waiting
- Failed
- Step selected
- Filtered
- List view
- Top to bottom
Accessibility
- Keyboard reachable throughout, in visual order
- Focus trapped in overlays, Escape closes them
- Focus returns to whatever opened it
- Live regions announce what changed, not that something did
- Honours prefers-reduced-motion
Responsive behavior
- Sizes to its container, not the viewport
- Usable from 320px up
- Pointer-based interaction, so trackpad and touch both work
- No hover-only affordances
More like Agent Execution Graph
All AI Agent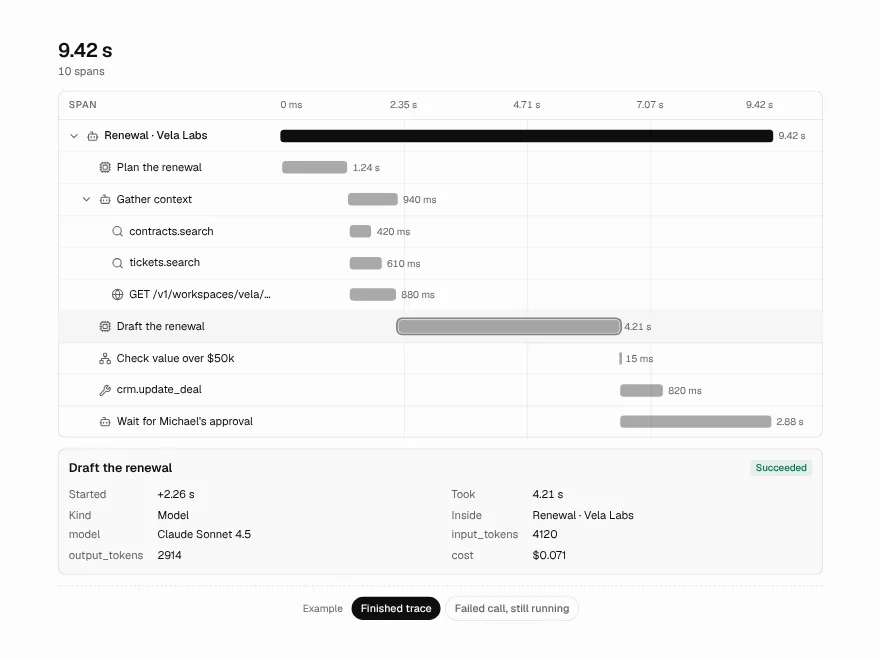 Pro
Trace Waterfall
Waterfall trace of every call in an agent run.
 Pro
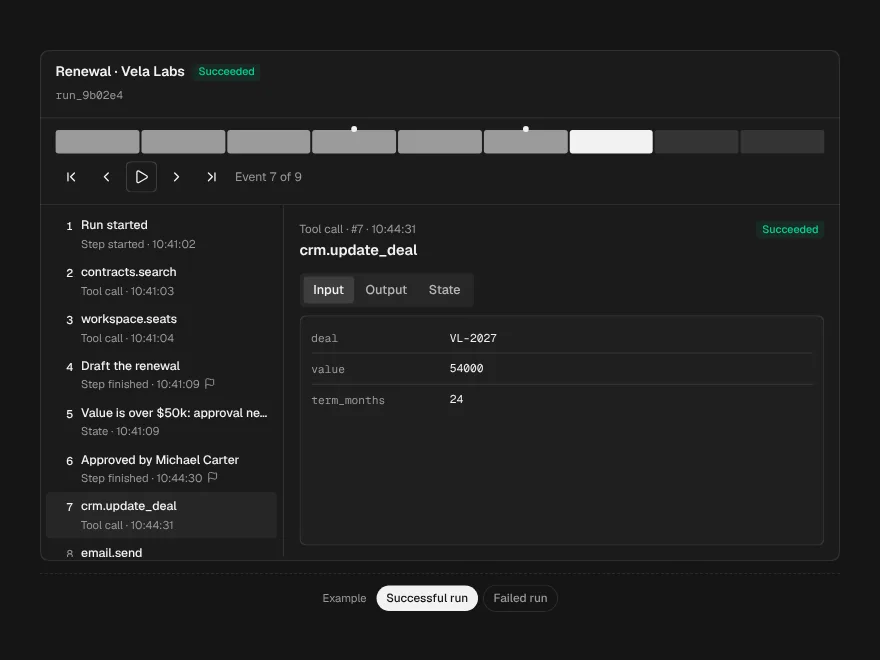
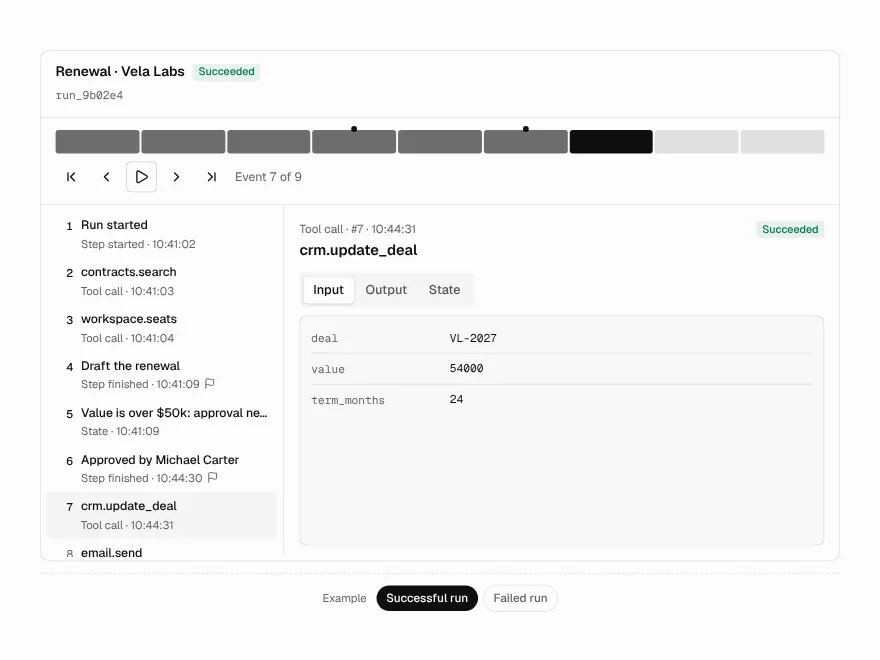
Run Replay
Replay a recorded agent run step by step.
 Pro
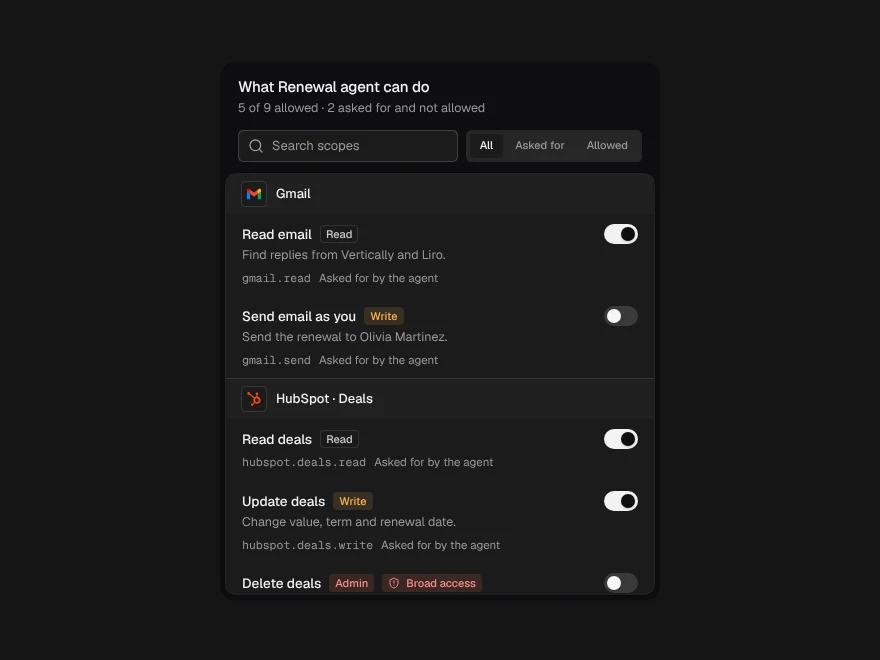
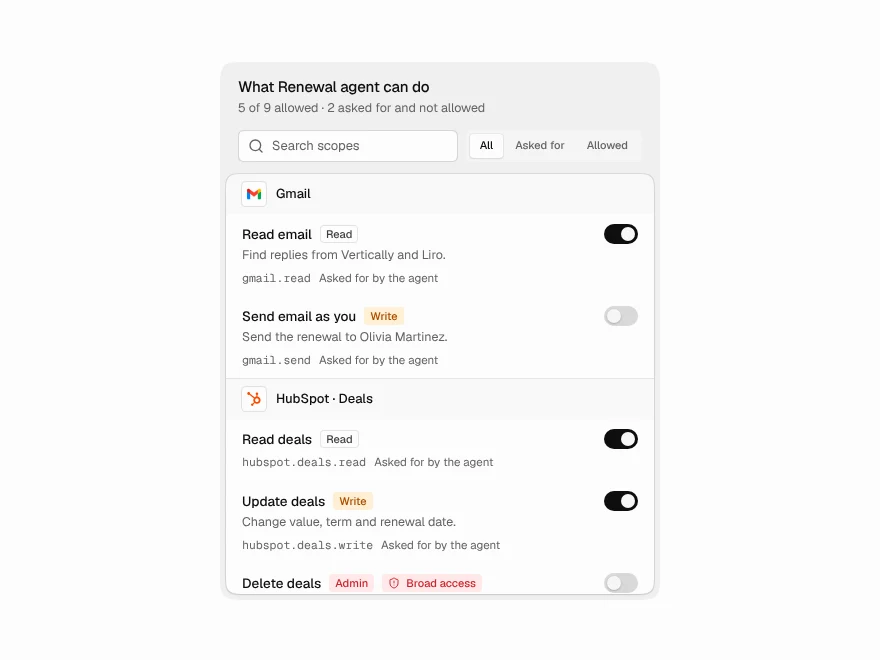
Agent Permissions
Manage what an AI agent is allowed to do.
 Pro
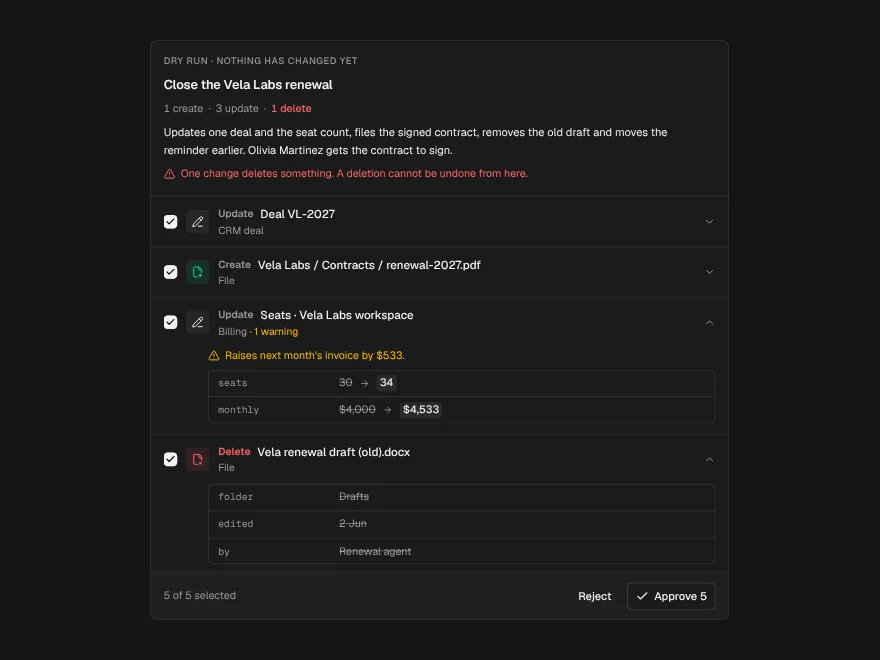
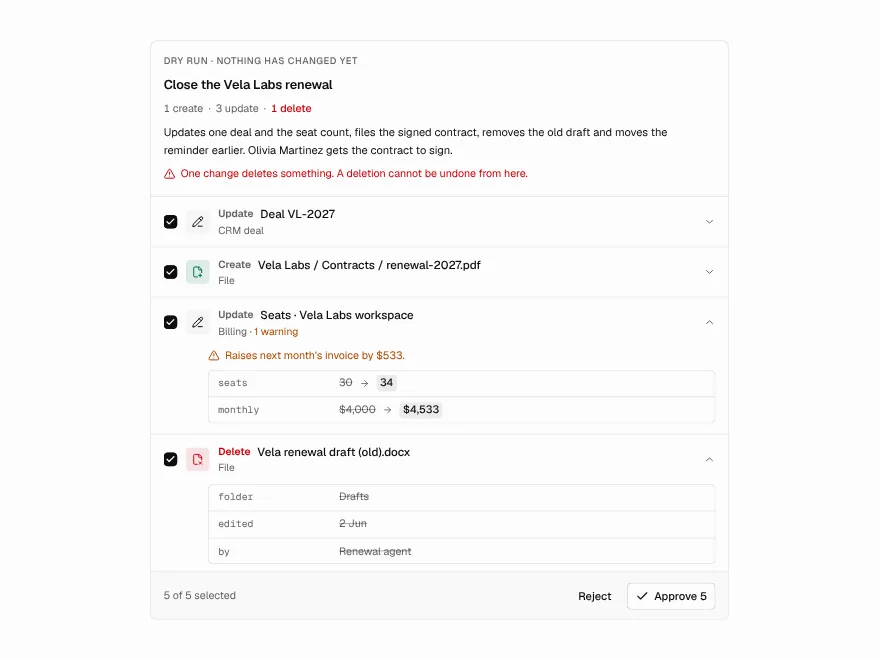
Dry-Run Preview
Preview every change an agent will make.
 Pro
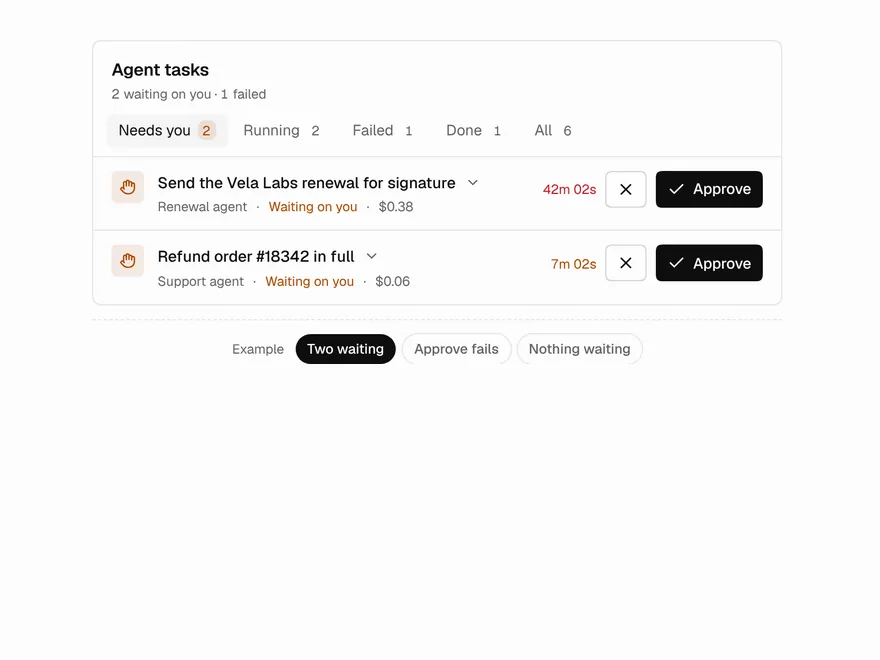
Agent Inbox
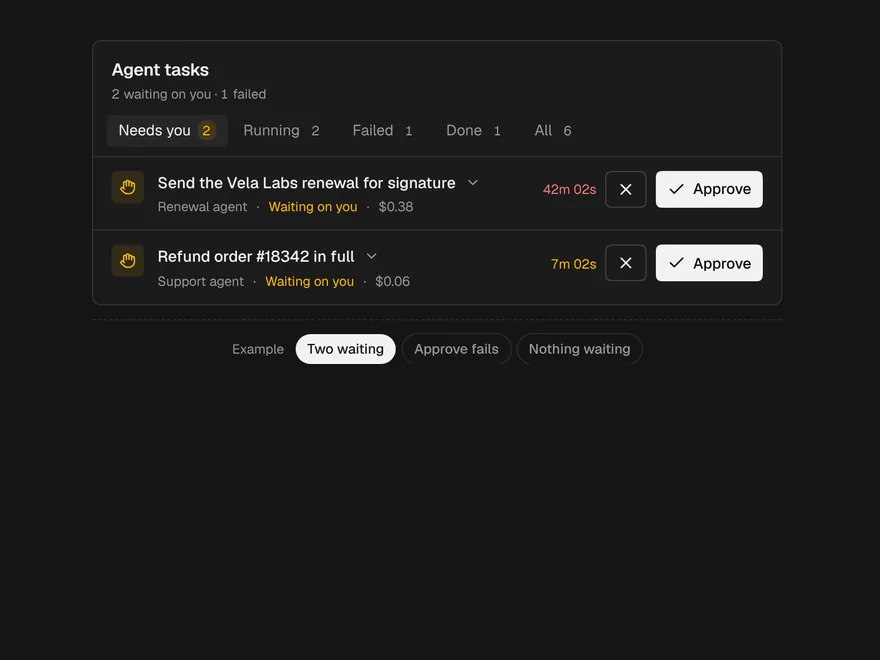
Inbox of background agent tasks awaiting you.
 NewPro
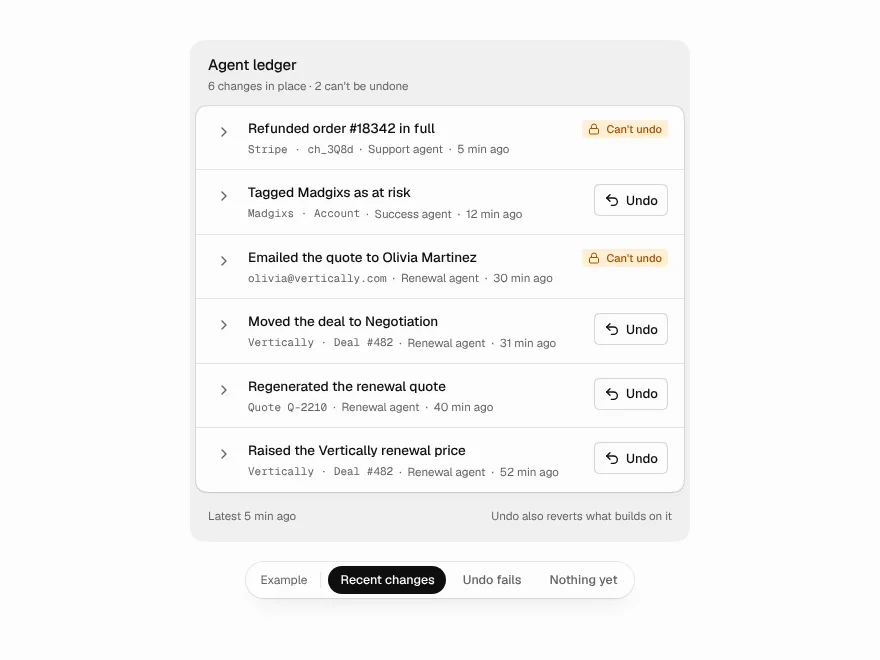
Agent Ledger
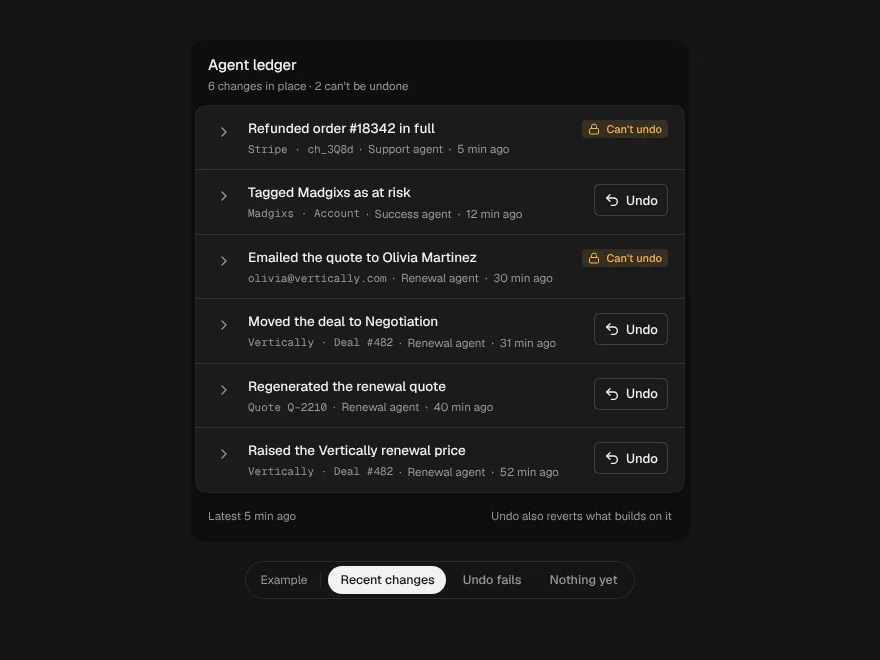
Everything an agent changed, each change with its before, after and an undo.