Breakdown Chart
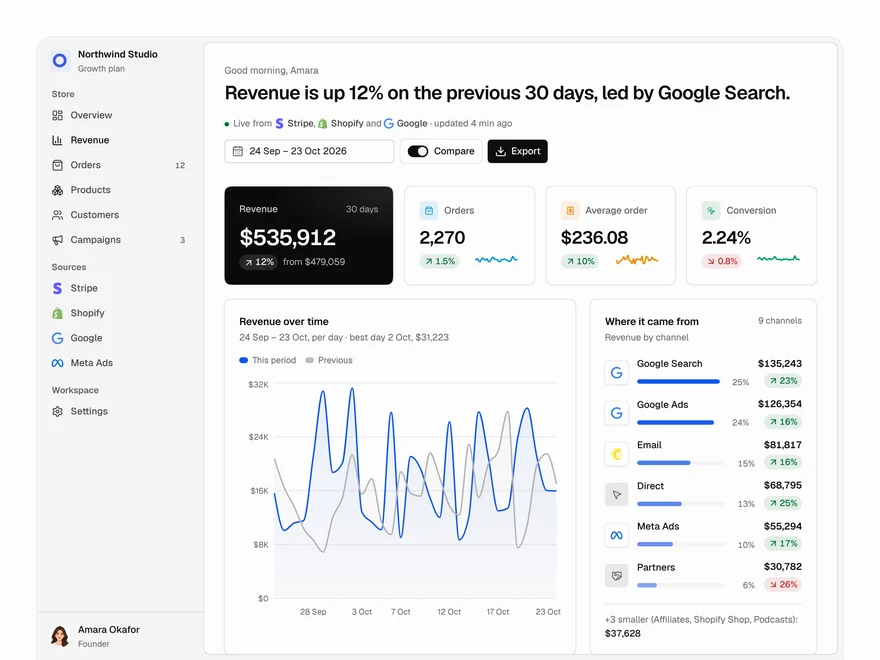
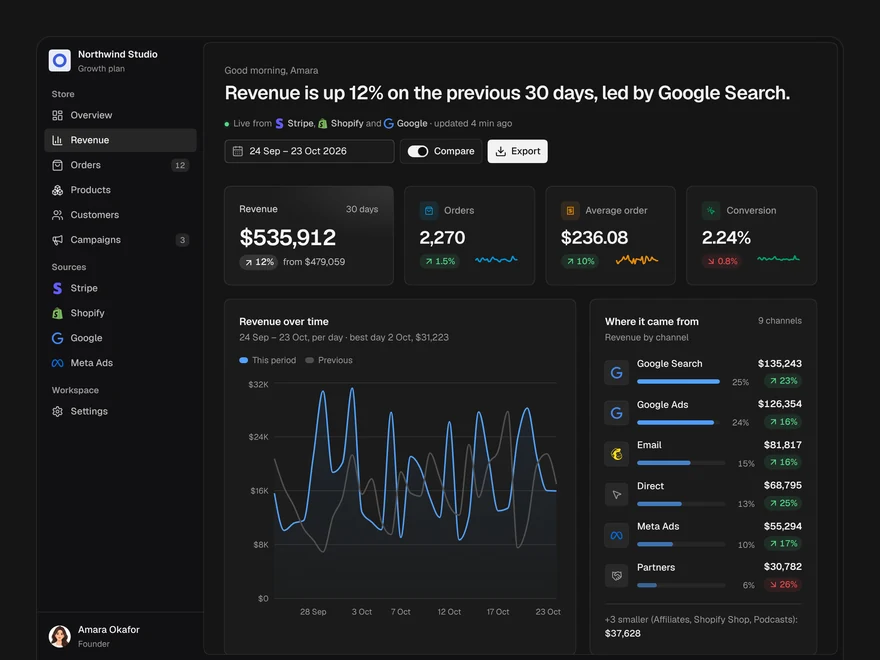
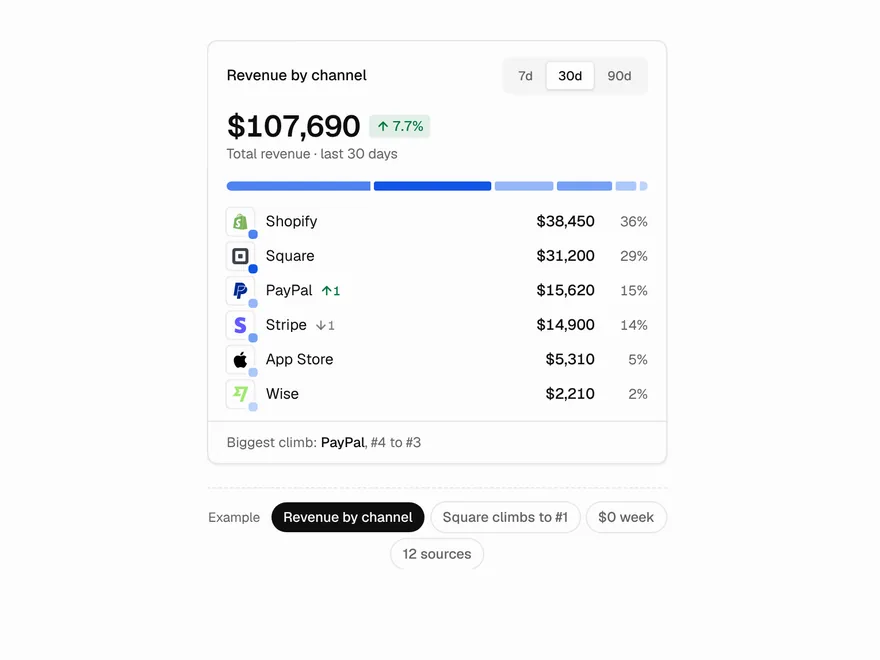
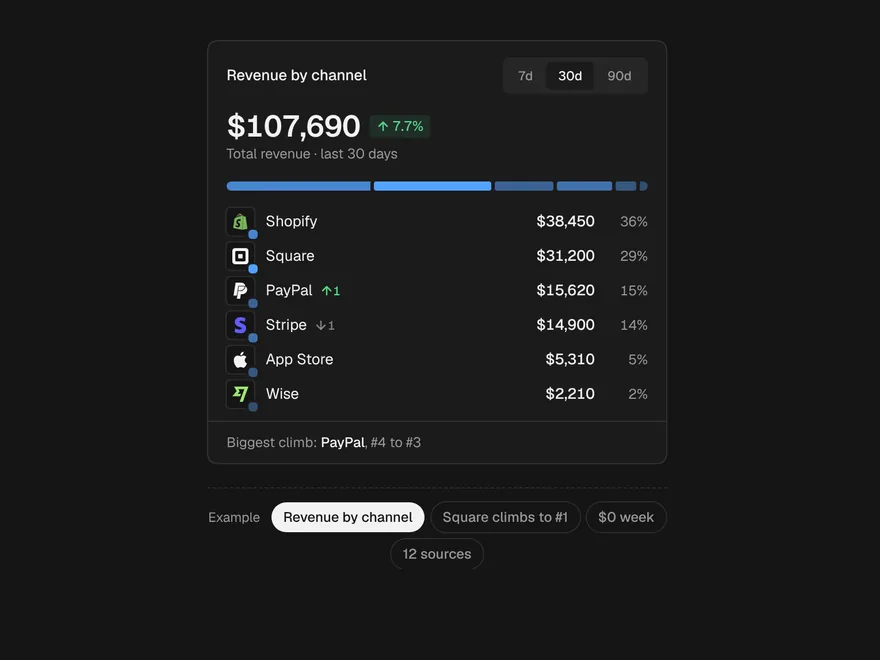
A stacked bar chart you can re-cut by measure, period and segment, with a linked table.
PROGet Breakdown Chart and 168 other Pro components with pro lifetime — Get Pro
- Category
- Data & feedback
- Access
- ProPro · unlocked
- Source
- 782 lines · one file
- States
- 6 drawn
- Added
- 21 Oct 2026
The decision inside it
Small segments become "Other"
Twelve thin coloured slivers are noise. Past five segments the smallest fold into one grey Other band, and clicking it opens it up. Colours follow the segment, not its position, so hiding one never repaints the rest.
When to use it
Use Breakdown Chart for a stacked bar chart people re-cut themselves: pick the measure, slice by day, week or month, and segment by any dimension, with a linked sortable table and small segments folded into Other. Pass flat rows; it sums them. For one total split into parts use Compact Breakdown.
Installation
How you get it
Paste this into Claude Code, Cursor, Codex or any coding agent. It installs the file and uses it as it is, instead of writing a new one.
Use Liro's Breakdown Chart for this.
Install it: npx shadcn@latest add @liro/breakdown-chart
(the @liro registry is set up in components.json, with LIRO_KEY in .env.local)
Import it from @/components/ui/breakdown-chart.
Do not rewrite or restyle it. Pass my data through its props
and keep its built-in states.
For the full brief with every prop and the mistakes assistants usually make, use Copy prompt above. Pro components install through the @liro registry with your CLI token: see the Namespaced tab.
Usage
import { BreakdownChart, type BreakdownRecord } from "@/components/ui/breakdown-chart";

const usd = (v: number) => v.toLocaleString("en-US", { style: "currency", currency: "USD" });

export function RevenueBreakdown({ orders }: { orders: BreakdownRecord[] }) {
  return (
    <BreakdownChart
      title="Revenue"
      rows={orders}
      dateKey="date"
      measures={[{ key: "revenue", label: "Revenue", format: usd }, { key: "orders", label: "Orders" }]}
      dimensions={[{ key: "channel", label: "Channel" }, { key: "region", label: "Region" }]}
      defaultSliceBy="week"
    />
  );
}
API reference
“Copy prompt” above puts a full brief on your clipboard, install command, dependencies, props, and the mistakes an assistant usually makes with this component.
Props
Read from the component’s own TypeScript interface when the site is built, so this table cannot drift from the file you install.
| Type | Notes | ||
|---|---|---|---|
rows | BreakdownRecord[] | Yes | – |
dateKey | string | No | Field holding an ISO date ("2026-10-03"). Default "date". |
measures | BreakdownMeasure[] | Yes | – |
dimensions | BreakdownDimension[] | Yes | – |
title | React.ReactNode | No | – |
measure | string | No | – |
defaultMeasure | string | No | – |
onMeasureChange | (key: string) => void | No | – |
sliceBy | SliceBy | No | – |
defaultSliceBy | SliceBy | No | – |
onSliceByChange | (s: SliceBy) => void | No | – |
segmentBy | string | No | – |
defaultSegmentBy | string | No | – |
onSegmentByChange | (key: string) => void | No | – |
maxSegments | number | No | Segments shown in colour before the rest fold into "Other". Default 5 (max 8). |
from | string | No | First day of the range (ISO). Default: the earliest row. |
to | string | No | Last day of the range (ISO). Default: the latest row. |
height | number | No | Plot height in px. Default 220. |
Dependencies
npm packages
clsxframer-motionlucide-reacttailwind-mergeLiro foundations, installed alongside it
liro-themesegmented-controlStates
All of them are drawn by the component. None is left for you to design.
- Revenue by channel
- Other opened
- Segment hidden
- Hovered
- Empty period
- No data
Accessibility
- Keyboard reachable throughout, in visual order
- Focus trapped in overlays, Escape closes them
- Focus returns to whatever opened it
- Live regions announce what changed, not that something did
- Honours prefers-reduced-motion
Responsive behavior
- Sizes to its container, not the viewport
- Usable from 320px up
- Pointer-based interaction, so trackpad and touch both work
- No hover-only affordances