Autonomy Dial
One control for how much an agent may do alone, and exactly what that means.
PROGet Autonomy Dial and 168 other Pro components with pro lifetime — Get Pro
- Category
- AI Agent
- Access
- ProPro · unlocked
- Source
- 308 lines · one file
- States
- 5 drawn
- Added
- 21 Oct 2026
The decision inside it
What cannot be undone always asks
Moving money, emailing outside the company and deleting are locked to Asks you first whatever the dial says, each with its reason. The dial only moves the reversible actions, so nobody switches off the approval on a wire transfer on a busy afternoon.
When to use it
Use Autonomy Dial in an agent's settings to choose how much it may do on its own, with the consequence shown as two columns of actions. Mark irreversible actions with a reason and they always ask. For per-tool Off / Ask / Allow use Agent Settings.
Installation
How you get it
Paste this into Claude Code, Cursor, Codex or any coding agent. It installs the file and uses it as it is, instead of writing a new one.
Use Liro's Autonomy Dial for this.
Install it: npx shadcn@latest add @liro/autonomy-dial
(the @liro registry is set up in components.json, with LIRO_KEY in .env.local)
Import it from @/components/ui/autonomy-dial.
Do not rewrite or restyle it. Pass my data through its props
and keep its built-in states.
For the full brief with every prop and the mistakes assistants usually make, use Copy prompt above. Pro components install through the @liro registry with your CLI token: see the Namespaced tab.
Usage
"use client";

import * as React from "react";
import { AutonomyDial, type AutonomyAction, type AutonomyLevel } from "@/components/ui/autonomy-dial";

const actions: AutonomyAction[] = [
  { id: "read", label: "Read contracts", risk: 1 },
  { id: "draft", label: "Draft replies", risk: 2 },
  { id: "post", label: "Comment on shared documents", risk: 3 },
  { id: "pay", label: "Pay an invoice", risk: 3, irreversible: "Money leaves the account" },
];

export function AgentAutonomy() {
  const [level, setLevel] = React.useState<AutonomyLevel>("balanced");
  return <AutonomyDial actions={actions} value={level} onChange={setLevel} />;
}
API reference
“Copy prompt” above puts a full brief on your clipboard, install command, dependencies, props, and the mistakes an assistant usually makes with this component.
Props
Read from the component’s own TypeScript interface when the site is built, so this table cannot drift from the file you install.
| Type | Notes | ||
|---|---|---|---|
actions | AutonomyAction[] | Yes | – |
value | AutonomyLevel | No | – |
defaultValue | AutonomyLevel | No | – |
onChange | (level: AutonomyLevel) => void | No | – |
overrides | Record<string, ActionMode> | No | Actions pinned to one side, ignoring the dial. |
onOverride | (id: string, mode: ActionMode | null) => void | No | – |
title | string | No | – |
look | Look | No | Layered sets it in a tray, the heading above the card and the status in the strip below. Flat is one card. |
Dependencies
npm packages
clsxframer-motionlucide-reacttailwind-mergeLiro foundations, installed alongside it
liro-themeStates
All of them are drawn by the component. None is left for you to design.
- Cautious
- Balanced
- Autonomous
- Pinned action
- Locked action
Accessibility
- Keyboard reachable throughout, in visual order
- Focus trapped in overlays, Escape closes them
- Focus returns to whatever opened it
- Live regions announce what changed, not that something did
- Honours prefers-reduced-motion
Responsive behavior
- Sizes to its container, not the viewport
- Usable from 320px up
- Pointer-based interaction, so trackpad and touch both work
- No hover-only affordances
More like Autonomy Dial
All AI Agent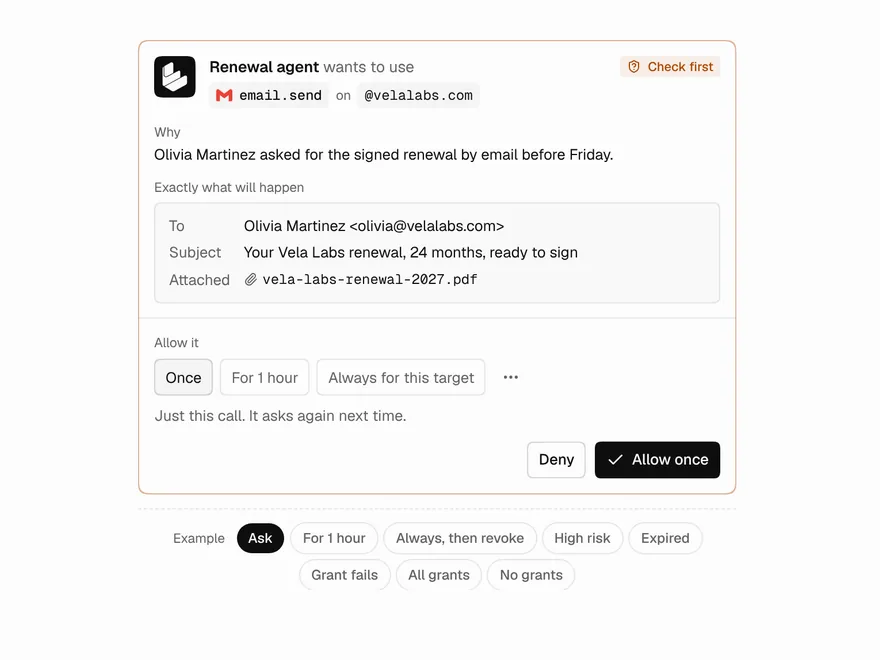 Pro
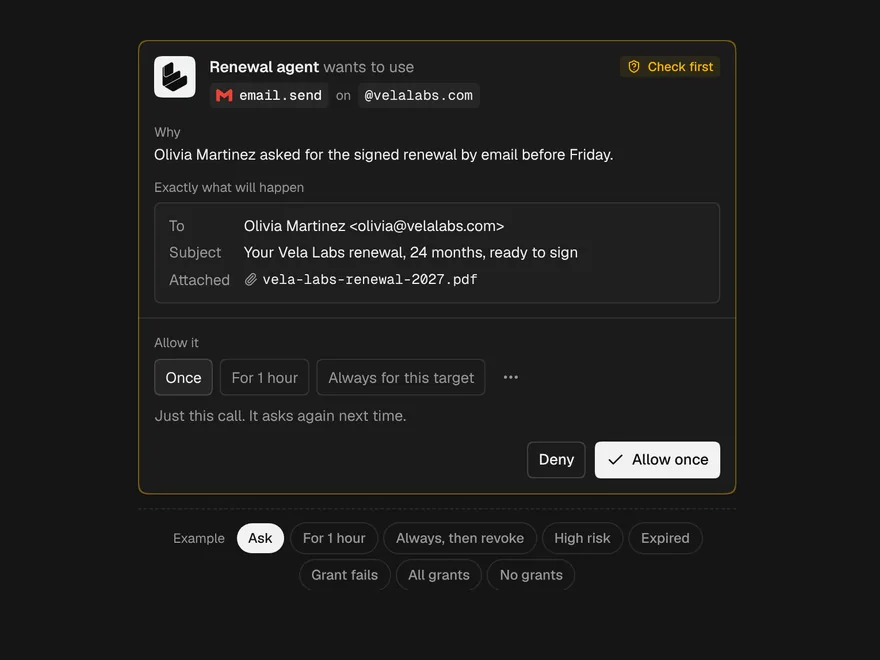
Scoped Permission Grant
Allow an agent action once, for an hour or always.
 Pro
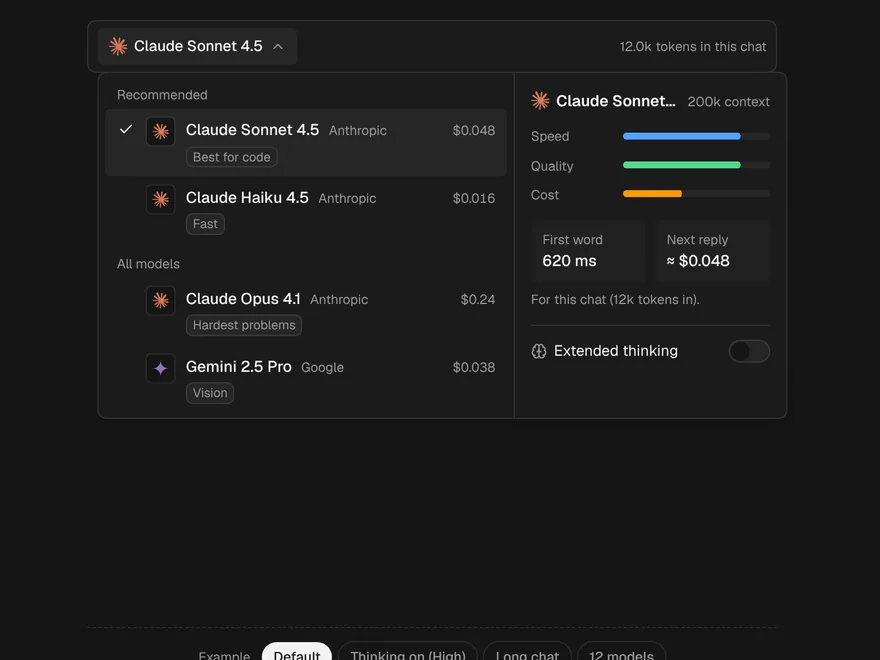
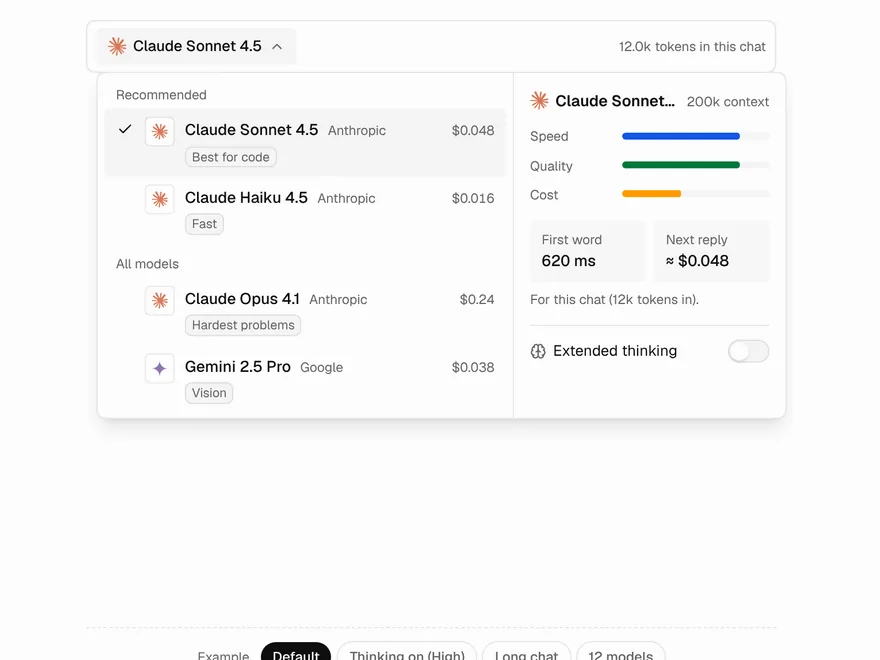
Model Picker
AI model selector with cost per reply.
 Pro
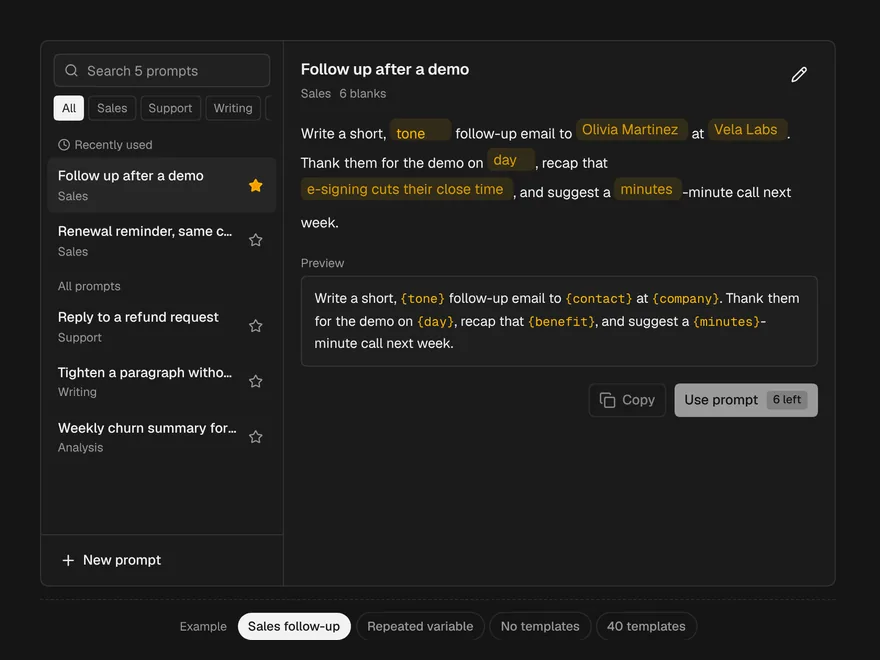
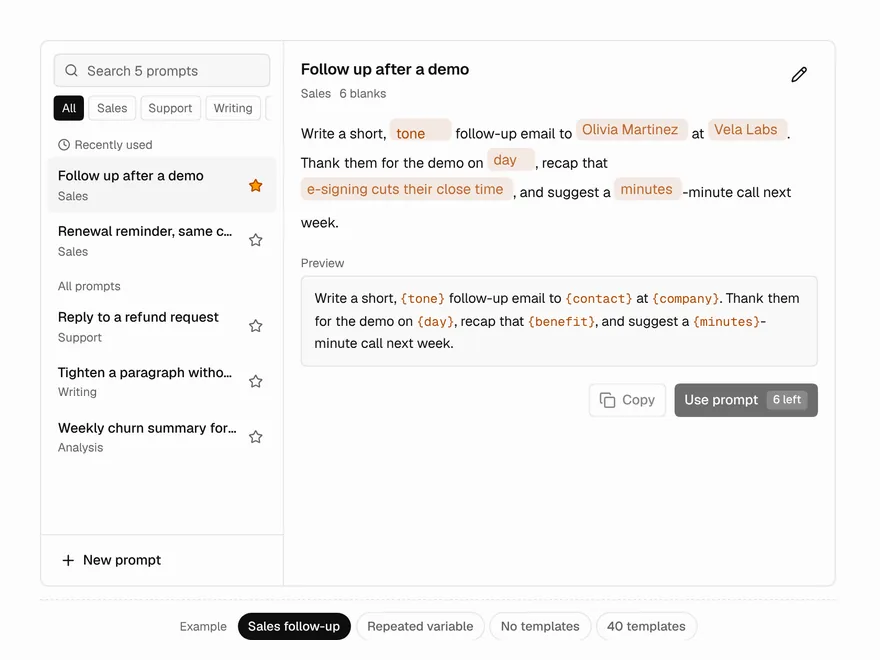
Prompt Library
Saved prompt templates with fill-in blanks.
 Pro
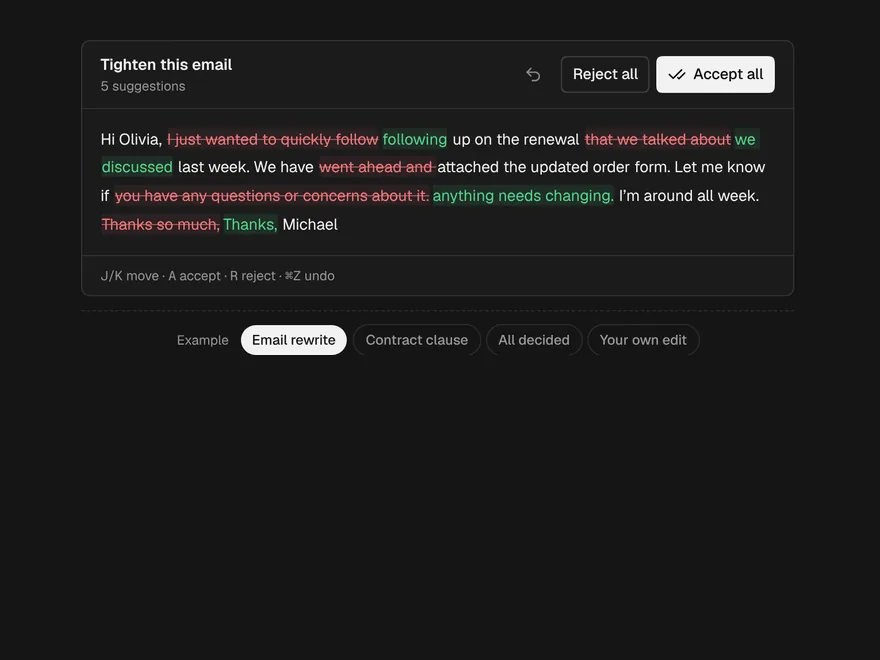
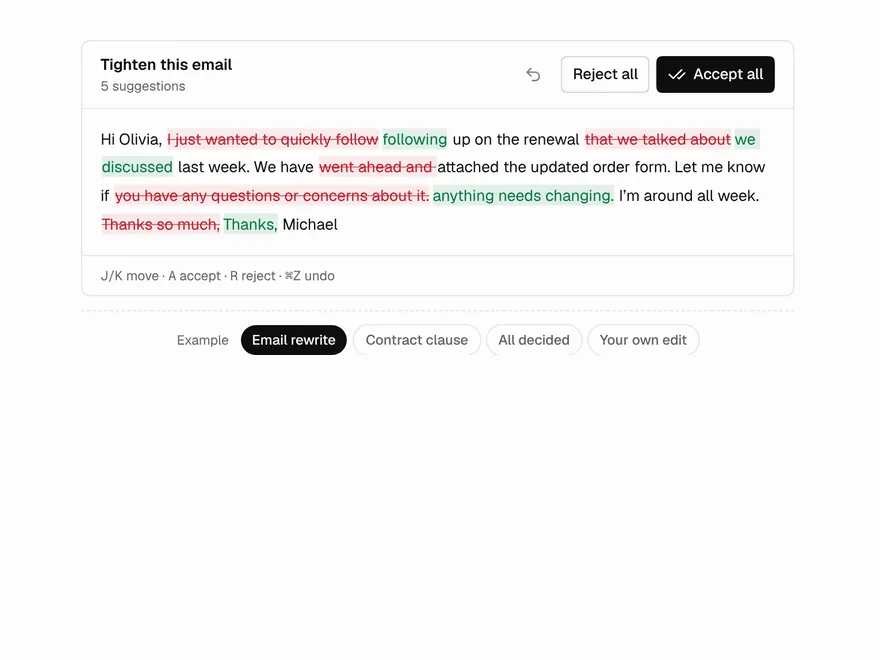
Inline Diff
Accept or reject AI text edits inline.
 Pro
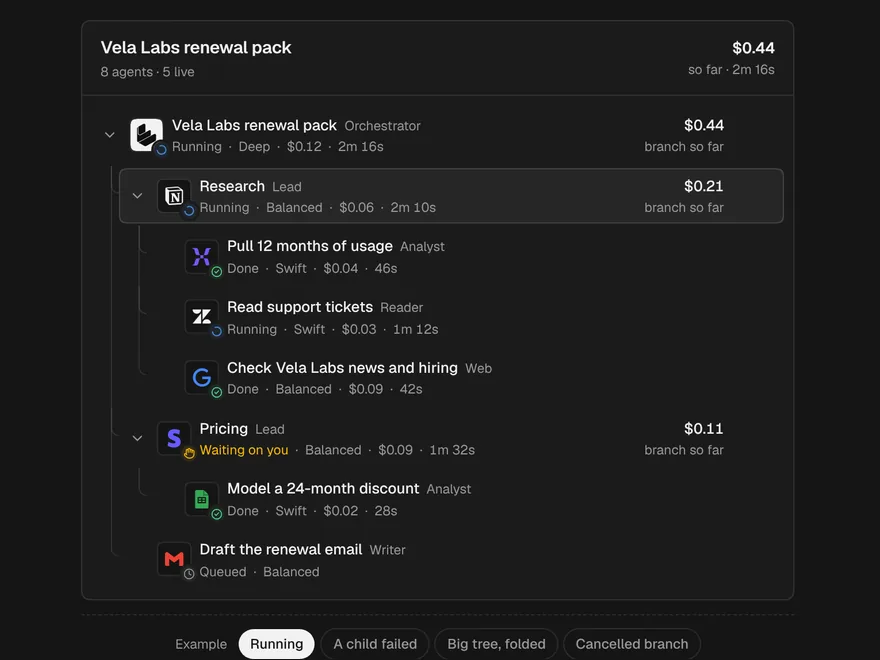
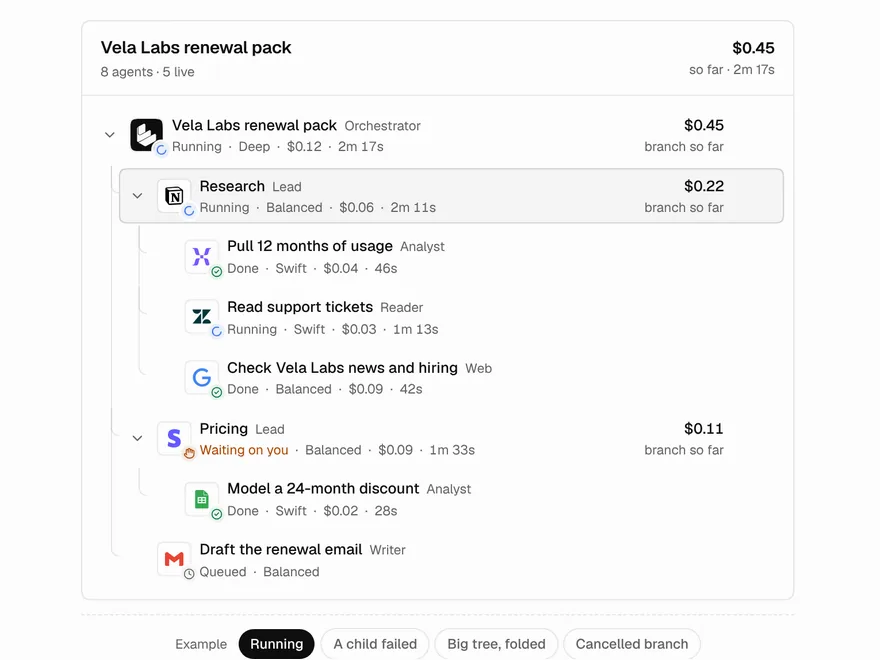
Sub-agent Tree
Live tree of an orchestrator and its sub-agents.
 Pro
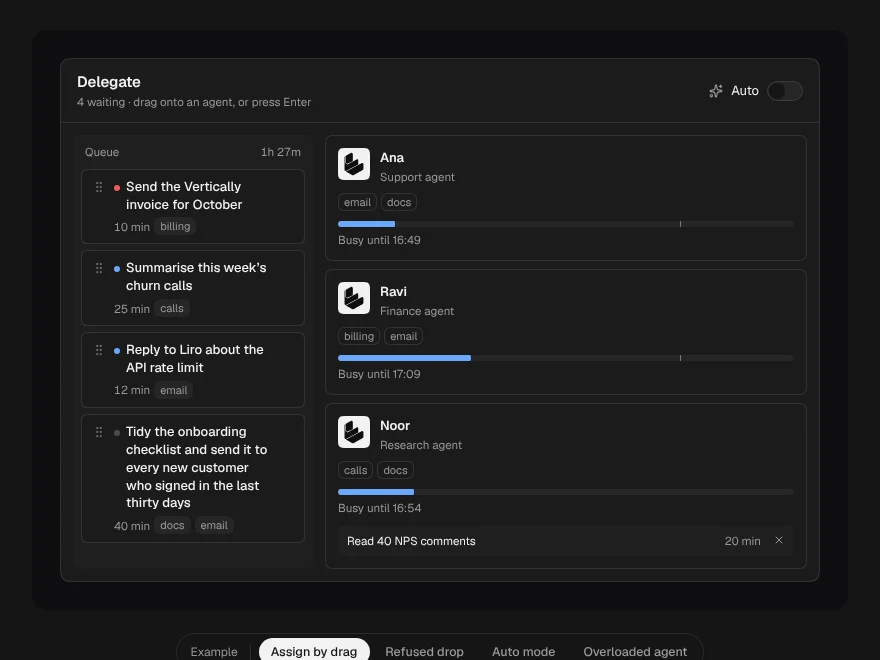
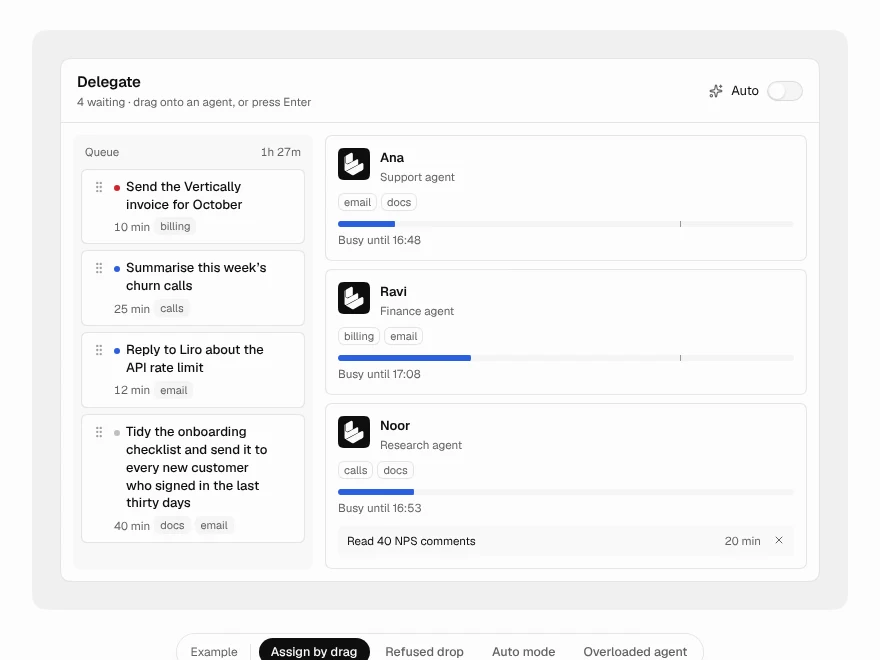
Delegate Board
Drag tasks onto AI agents to assign them.