
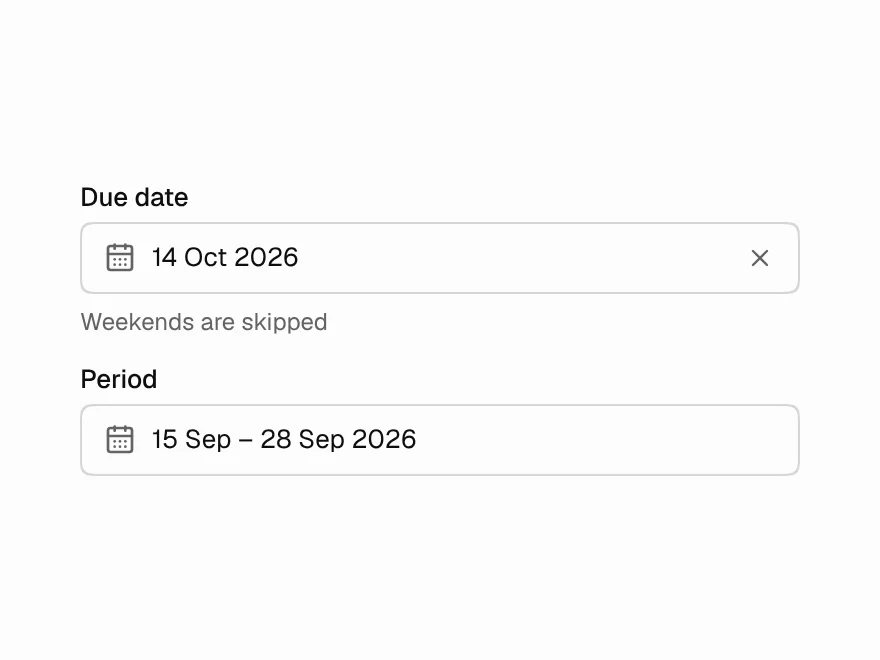
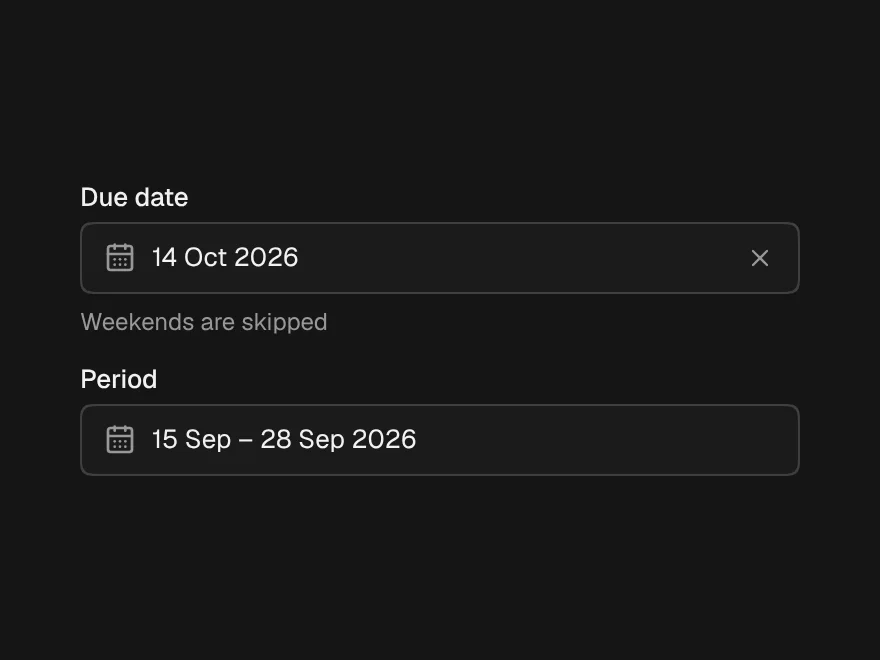
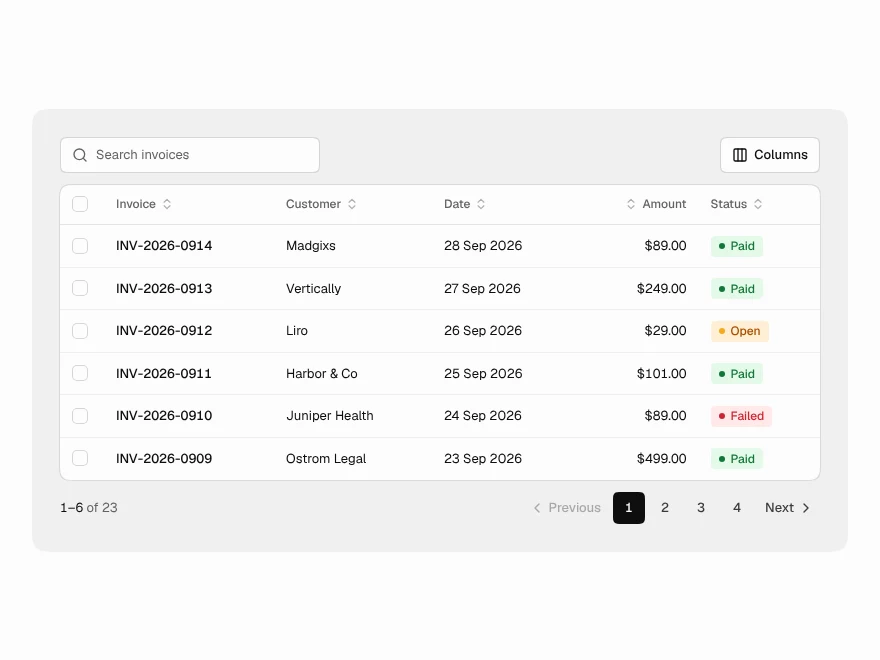
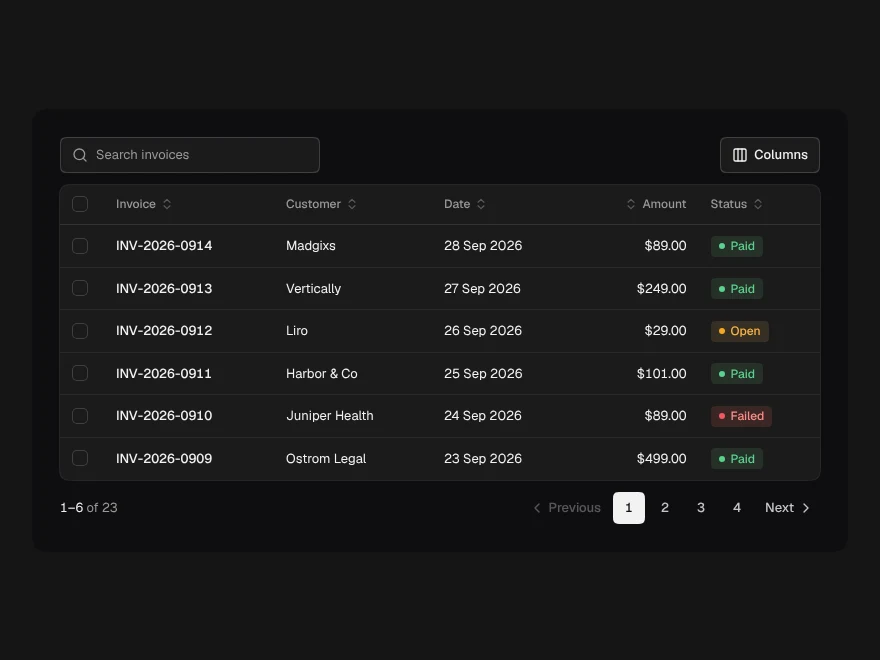
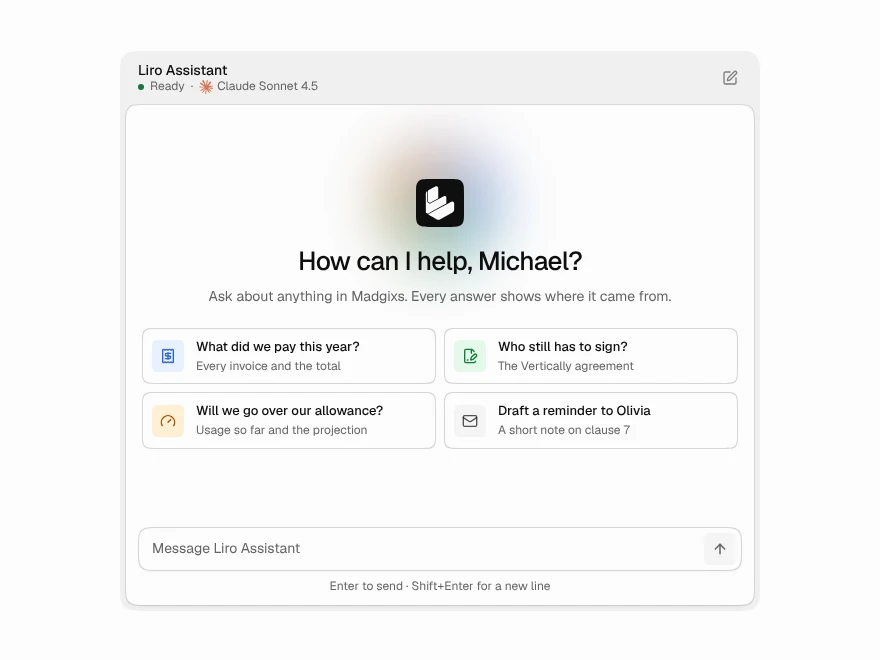
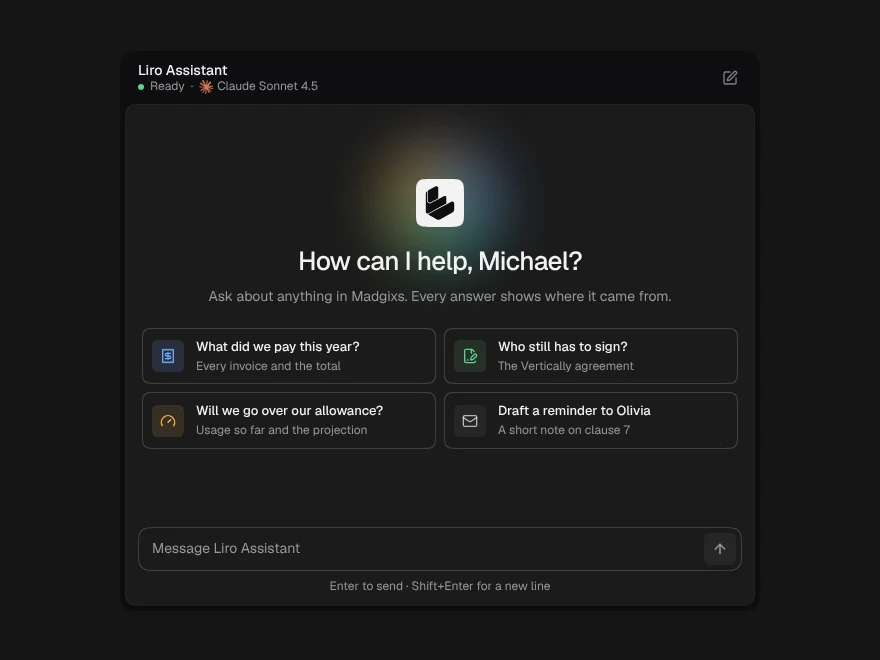
The short version: add one MCP server to your tool, with your token in a header. After that, asking for “a date picker in the settings form” makes the agent search the library, check the component's props, run the install command and import the file from components/ui.
Why an agent should install, not write
An AI agent can write a date picker. It will also write a slightly different one next week, with its own spacing, its own idea of focus rings and a dark mode that half works. Most of what makes interface code good is in the details nobody asks for: empty and error states, keyboard handling, what happens on a phone. Installing a component that already handles those keeps the agent's effort on your product, and keeps every screen consistent.
MCP (Model Context Protocol) is how the agent reaches the library: a standard way for AI tools to call outside services. Liro MCP gives your tool 10 tools for searching, reading and installing components.
Before you start
- A React project with Tailwind CSS v4 that uses the shadcn CLI, so it has a
components.json. The install docs cover setting that up. - A Liro account, and the CLI token from your account page. Connecting is free. A free account's token unlocks the 93 free components; the rest need lifetime access. Liro checks the token on its own server on every request.
- An MCP client that can reach a remote server over HTTP with a header: Claude Code, Cursor, VS Code, Codex, Windsurf, Gemini CLI, Antigravity, the Claude app and others.
Connect your tool
Every client needs the same two things: the address https://liro.dev/api/mcp and your token as Authorization: Bearer <token>.
Claude Code. Run this in your terminal with LIRO_KEY set to your token:
claude mcp add --transport http liro https://liro.dev/api/mcp \
  --header "Authorization: Bearer $LIRO_KEY"
Cursor. Put this in ~/.cursor/mcp.json, or .cursor/mcp.json for one project:
{
  "mcpServers": {
    "liro": {
      "url": "https://liro.dev/api/mcp",
      "headers": { "Authorization": "Bearer <your Liro token>" }
    }
  }
}
VS Code. Add this to your project. VS Code asks for the token once and stores it securely, so it never sits in the file:
{
  "servers": {
    "liro": {
      "type": "http",
      "url": "https://liro.dev/api/mcp",
      "headers": { "Authorization": "Bearer ${input:liro-key}" }
    }
  },
  "inputs": [
    { "type": "promptString", "id": "liro-key", "description": "Liro token", "password": true }
  ]
}
Codex. Codex reads the token from LIRO_KEY in the terminal it starts in, so set it in your shell profile first:
export LIRO_KEY=<your Liro token>   # in ~/.zshrc or ~/.bashrc, then open a new terminal
codex mcp add liro --url https://liro.dev/api/mcp --bearer-token-env-var LIRO_KEY
Gemini CLI.
gemini mcp add -t http liro https://liro.dev/api/mcp \
  -H "Authorization: Bearer $LIRO_KEY"
Anything else. Use the address with the Streamable HTTP transport (some tools call it just HTTP), not SSE, and choose no sign-in (no OAuth). In the Claude app, add a header named X-API-Key with the token on its own, because it does not pass on a header named Authorization. The Liro MCP page has a panel for each client, including Windsurf and Antigravity.
Check it works
Restart the tool after changing its config. Most clients then list the server: liro with 10 tools. Then ask:
Use Liro check_access for button.It should answer that you can take it.
What the agent does
Once connected, a typical request runs through the tools in this order:
search_componentsfinds candidates for what you asked for, andget_componentreads one: its props, its states and an example.check_accessasks Liro whether your token can take it. If not, the agent should tell you why rather than try again.get_installationreturns the shadcn command, with a short-lived install token valid for 15 minutes. The agent runs it, and the component and anything it imports land incomponents/ui. Your own token never has to be written into a file or a chat.get_component_codeis the fallback when the agent cannot run the CLI. It should ask you before writing files that way.
For a whole page, such as a chat app, a dashboard or a billing screen, get_recipe gives the agent a plan built from several components. To match your brand, get_theme explains which CSS variables to override, so colours change in your stylesheet and not in the component files.
Tell the agent to use it
Agents follow project instructions more reliably than one-off requests. Add this to AGENTS.md, CLAUDE.md or your tool's rules file:
## UI components: Liro
- Build UI from Liro (Liro MCP, server "liro"). Before writing a component, call search_components and use the match.
- Install with get_installation and run its agentInstall command yourself. Import from "@/components/ui/<slug>".
- If the Liro tools are not available in this session, stop and tell me. Do not write substitute components or say Liro was used.
- When you finish, list each Liro slug you used and the file it was installed to.
The third line matters most. Without it, an agent that cannot reach the server may write a look-alike and say it used Liro.
Prompts that work
Ask for the outcome, in the words you would use with a colleague. Naming Liro helps when you have several servers connected:
Add a date picker from Liro to the settings form.
Build the billing page with Liro: current plan, usage meter and invoices.
Use the Liro recipe for an AI chat app, then match our brand colours with the Liro theme.
Which Liro components are free? Install the free data table.
Through the shadcn MCP server instead
If you already use the shadcn MCP server, you can reach Liro through it as a registry. Add the registry to components.json:
{
  "registries": {
    "@liro": {
      "url": "https://liro.dev/r/{name}?ns=liro",
      "headers": { "Authorization": "Bearer ${LIRO_KEY}" }
    }
  }
}
Put your token in .env.local, where the shadcn CLI reads it:
LIRO_KEY=<your Liro token>Then set up the shadcn MCP server for your client (swap claude for cursor, vscode, codex or opencode) and ask for @liro/data-table by name:
npx shadcn@latest mcp init --client claudeThis route installs components, but it does not give the agent Liro MCP's recipes, theme guide or access check.
The free set, without an account
A smaller set of free components, including the AI chat, prompt input, streaming response, code block and data table, is also published under the MIT licence in the public liro-free-ui repository. Those install with the shadcn CLI and no token:
npx shadcn@latest add https://raw.githubusercontent.com/Layropro/liro-free-ui/main/r/ai-chat.jsonKeeping the token safe
- Keep it in an environment variable or your client's secure input, never in a file you commit, and never paste it into a chat.
- If it leaks, regenerate it on your account page. The old one stops working at once.
- The install token the agent receives expires after 15 minutes, so a command left in a log is not a lasting key.
When something does not work
- The tools do not appear. Check the address ends in
/api/mcp, the transport is HTTP and not SSE, and restart the client. - “No source code was returned” for a Pro component: the connection has no token, or the token's account does not have lifetime access.
- “Free with a Liro account”: free components need a free account's token on the connection too.
- The credential was not accepted. The token was mistyped or regenerated; copy it again.
- Imports fail after install. Keep the files at the paths the tool gives, and import
styles/liro.cssafter Tailwind in your global CSS.